NOTICE: JetBackup WHMCS Module has reached End of Life (EoL) on March 1st, 2021.
WHMCS version 8 now offers native support for JetBackup backup services. For a Step-by-Step Guide, please visit Integrating JetBackup with WHMCS 8+
WHMCS version 8 now offers native support for JetBackup backup services. For a Step-by-Step Guide, please visit Integrating JetBackup with WHMCS 8+
Initial Configuration
Once you have your JetBackup WHMCS properly installed and activated there are some prerequisite steps needed to be done to make sure the module will be fully functional.
1. Making sure You have a valid cPanel server
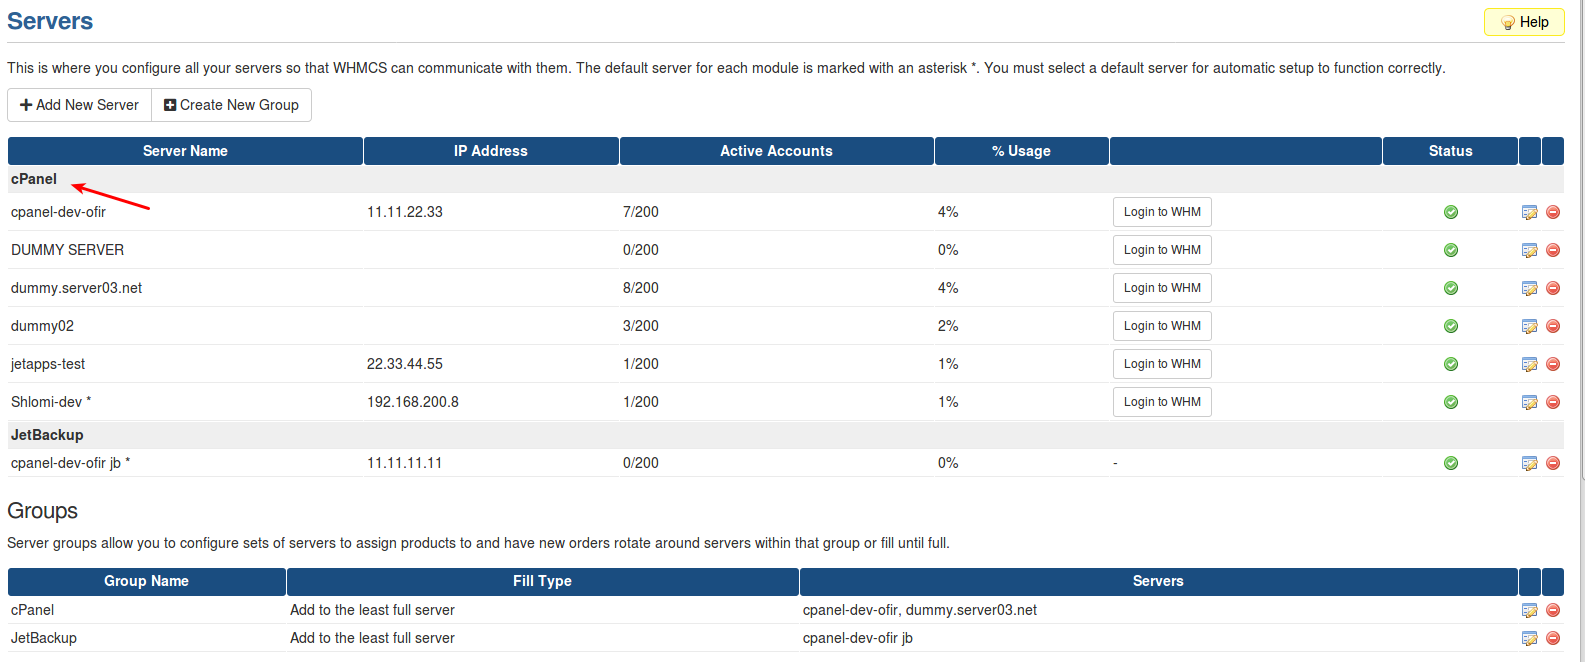
JetBackup WHMCS Module will only use cPanel servers that are valid and listed inside WHMCS server’s list [ WHMCS → Setup → Product & services → servers ]
If you haven’t registered any cPanel server yet under WHMCS, and not sure how to do so, please follow the following official guide from WHMCS documentation -
For more information:
WHMCS Documentation for CPanel/WHM server add.

2. Making sure You have a valid cPanel hosting product
JetBackup WHMCS billing feature will only work as an addon for a cPanel hosting product.
To make sure the module will produce accurate invoicing for a client, You need attach the module as an addon to an existing cPanel hosting product (Can be either shared / reseller).
You can review your WHMCS products at “WHMCS → Setup → Product & services → Product & services”.
If you haven’t created any cPanel product yet under WHMCS, and not sure how to do so, please follow the following official guide from WHMCS documentation -
WHMCS Documentation for Products and Services

3. Setting up your JetBackup service:
You need at least one active JetBackup service, Please follow the instructions at Services to add a service.
Make sure you have selected the appropriate Applicable products (the cPanel hosting product that JetBackup will be nested under as an addon).
Once the service is properly configured, JetBackup will automatically generate an addon for you, just for double checking you can make sure the addon is listed under “WHMCS → Setup → Product & services → Product Addons”.

4. Setting up your JetBackup server:
Have your JetBackup WHMCS Module communicate with your JetBackup Server(s) and enable Backup Quota on your backup job(s).
For more information, please visit Servers & Server Tokens.
5. Make sure JetBackup shows up in client area / or order form