Integration with JetBackup 5
To improve security and maintain better control over your JetBackup Storage S3 Buckets, it is recommended to create dedicated IAM sub-users with limited permissions. This guide will walk you through the process of creating a sub-user, generating access keys, assigning a bucket-specific policy, and integrating your JetBackup Premium Cloud Storage with JetBackup 5. By the end, you’ll have a fully configured and ready-to-use backup destination.
For security purposes, it’s recommended to assign each user access to only one bucket.
While creating a separate policy and user for each bucket is recommended to enhance security, it is not required. You may simply generate an access key for an existing user.
Regions Endpoints URLS:
eu-central-2.storage.jetbackup.com
eu-west-1.storage.jetbackup.com
eu-west-2.storage.jetbackup.com
eu-east-1.storage.jetbackup.com
eu-north-1.storage.jetbackup.com
us-east-1.storage.jetbackup.com
Step 1:
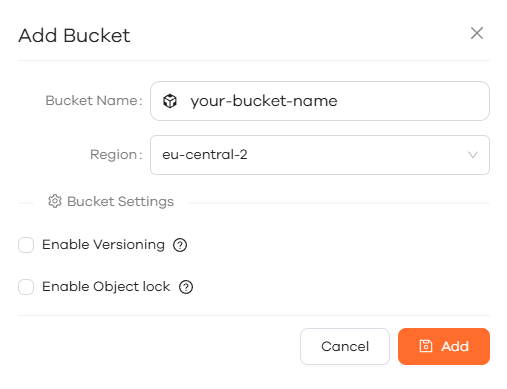
Adding a bucket
-
Add a bucket, use a name to represent the server
-
Do not enable Bucket Versioning / Object Lock
Step 2:
Create a subuser for the server
-
Navigate to the ‘users’ tab, and click ‘Add User’.
-
Fill out the E-Mail and Password for the user
-
Use a strong password from a Password Generator for security. Please note that you don’t need to save the password, we will not use it

Step 3:
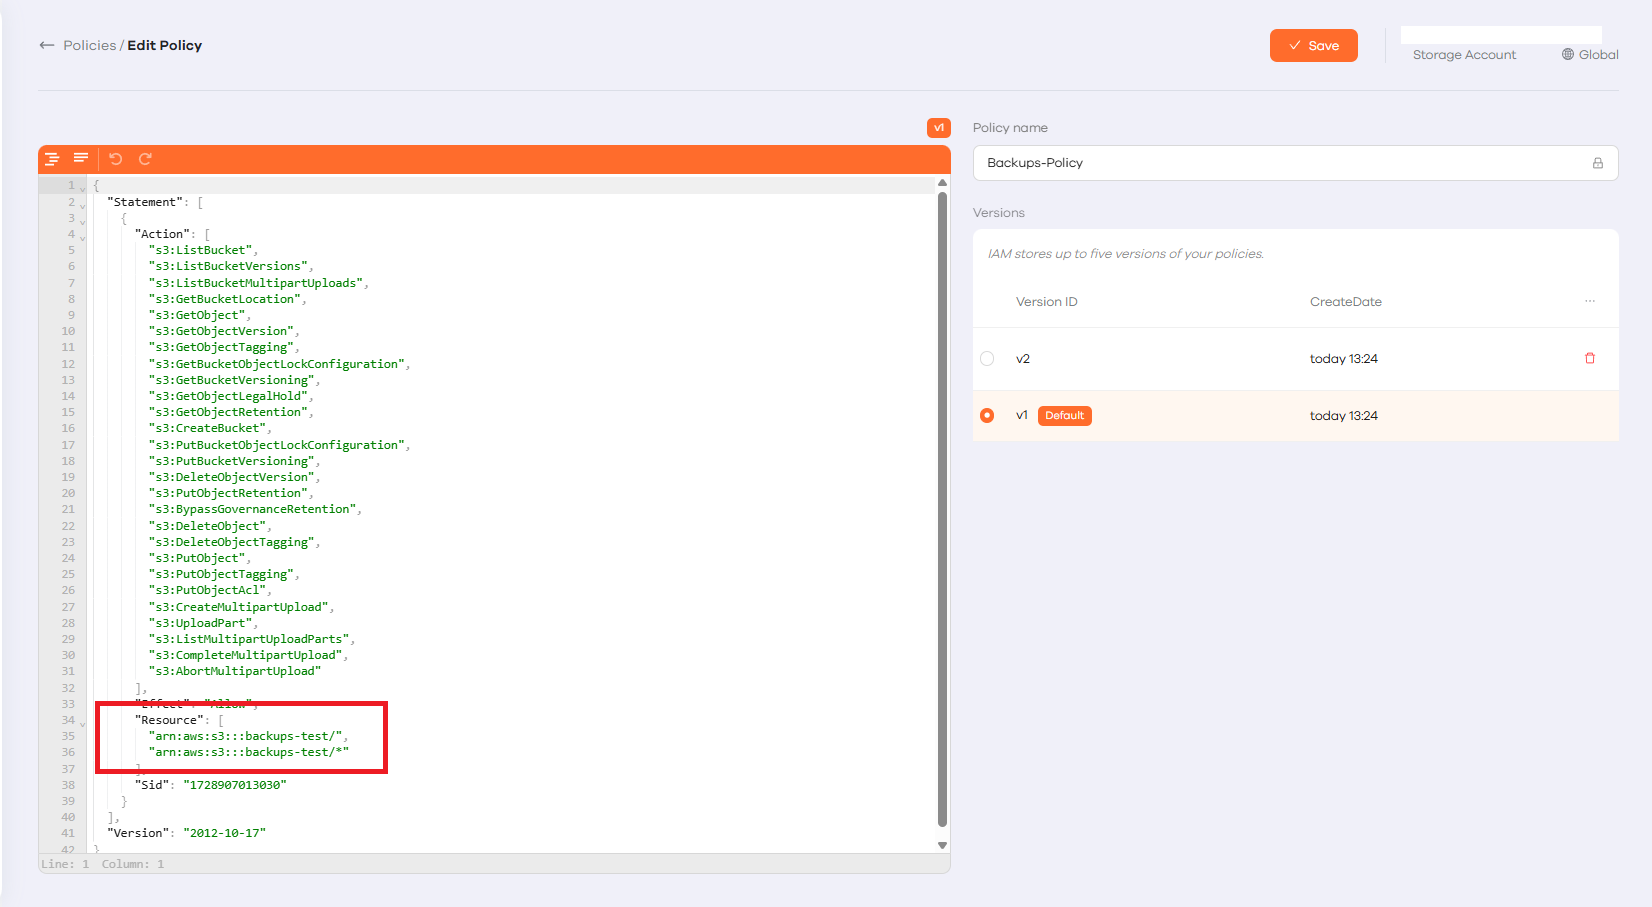
Add a Bucket Policy
- Create a policy for the bucket. Use the server name for the policy name
- Policy template: Make sure to replace
BUCKET_NAMEin the “Resource” section below.
- Policy template: Make sure to replace
Here is a simple example of a policy that grants full access to a bucket name ‘BUCKET_NAME’:
{
  "Version": "2012-10-17",
  "Statement": [
    {
      "Effect": "Allow",
      "Action": "s3:*",
      "Resource": [
        "arn:aws:s3:::BUCKET_NAME",
        "arn:aws:s3:::BUCKET_NAME/*"
      ]
    }
  ]
}
This policy grants limited access to a specific S3 bucket and its contents.Advanced Bucket Policy (Limited Access)
{
  "Version": "2012-10-17",
  "Statement": [
    {
      "Sid": "LimitedBucketAccess",
      "Effect": "Allow",
      "Action": [
        "s3:ListBucket",
        "s3:ListAllMyBuckets",
        "s3:ListBucketVersions",
        "s3:ListBucketMultipartUploads",
        "s3:GetBucketLocation",
        "s3:GetObject",
        "s3:GetObjectVersion",
        "s3:GetObjectTagging",
        "s3:GetBucketObjectLockConfiguration",
        "s3:GetBucketVersioning",
        "s3:GetObjectLegalHold",
        "s3:GetObjectRetention",
        "s3:CreateBucket",
        "s3:PutBucketObjectLockConfiguration",
        "s3:PutBucketVersioning",
        "s3:DeleteObjectVersion",
        "s3:PutObjectRetention",
        "s3:BypassGovernanceRetention",
        "s3:DeleteObject",
        "s3:DeleteObjectTagging",
        "s3:PutObject",
        "s3:PutObjectTagging",
        "s3:PutObjectAcl",
        "s3:CreateMultipartUpload",
        "s3:UploadPart",
        "s3:ListMultipartUploadParts",
        "s3:CompleteMultipartUpload",
        "s3:AbortMultipartUpload"
      ],
      "Resource": [
        "arn:aws:s3:::BUCKET_NAME",
        "arn:aws:s3:::BUCKET_NAME/*"
      ]
    }
  ]
}
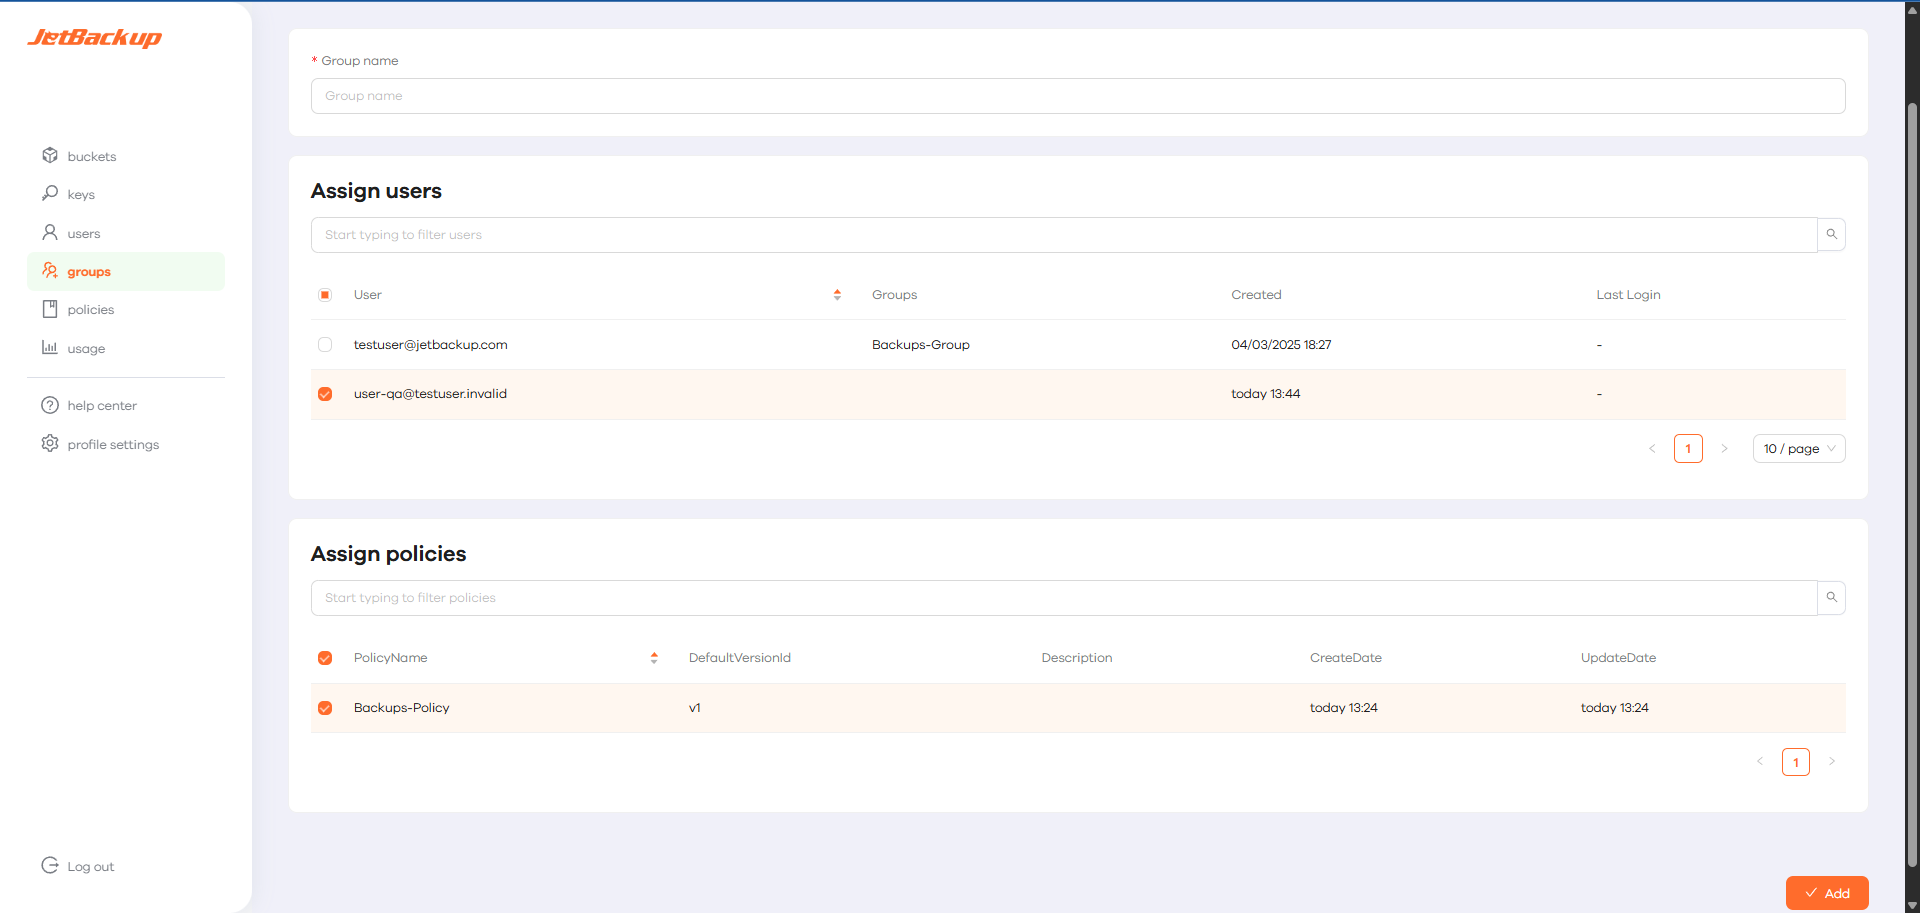
- Go back to Groups, click Edit, and ensure that both the user and the policy are assigned by checking their boxes and clicking Save.
Step 4:
Create an access key for the user
- Navigate to the Users tab, click Edit, and then select Access Keys. From this page, you can generate a new Access Key for the user.
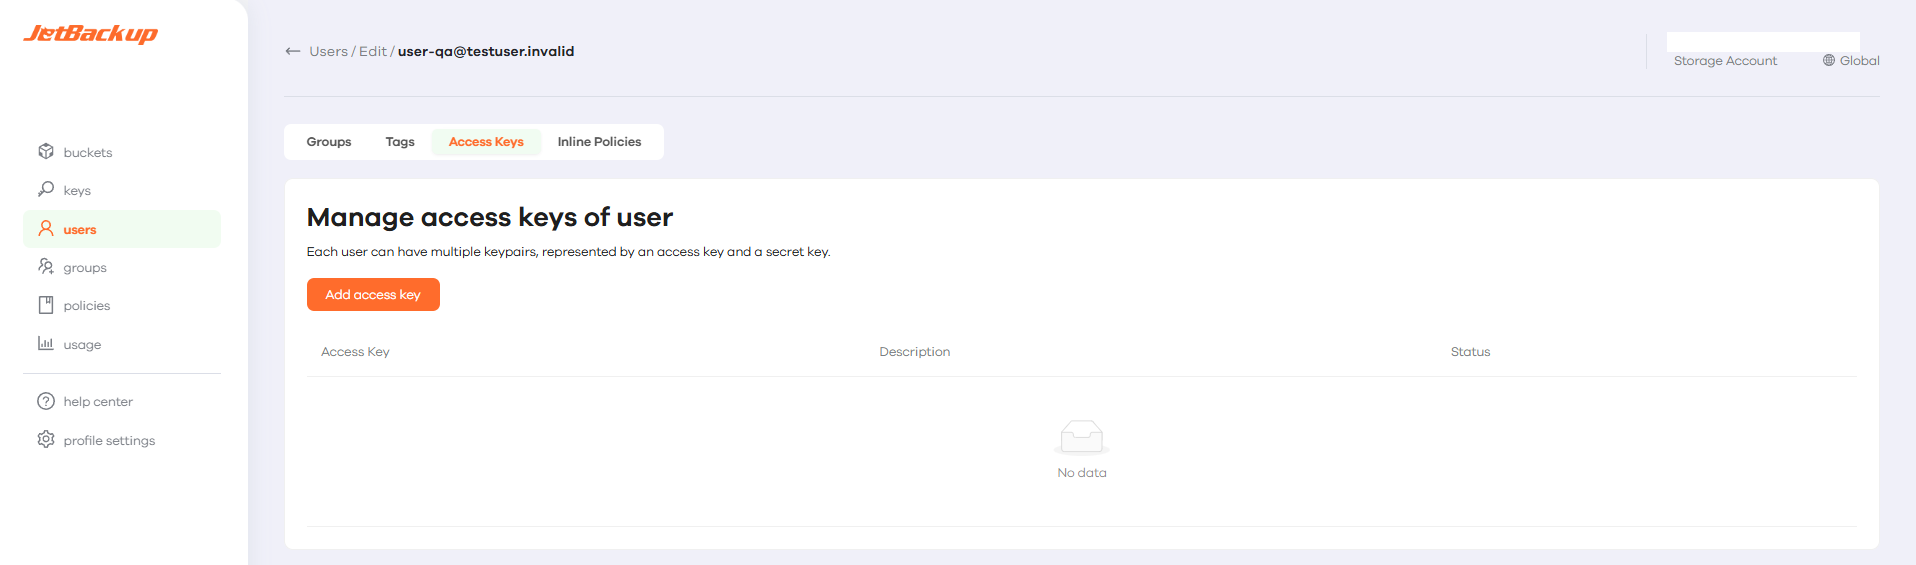
- Save the Access Keys in a secure location, as they cannot be retrieved once lost.
Step 5:
Adding the destination in JetBackup 5
-
Open JetBackup 5 and navigate to Destinations > “+ Create New Destination”
-
Enter the JetBackup Storage credentials
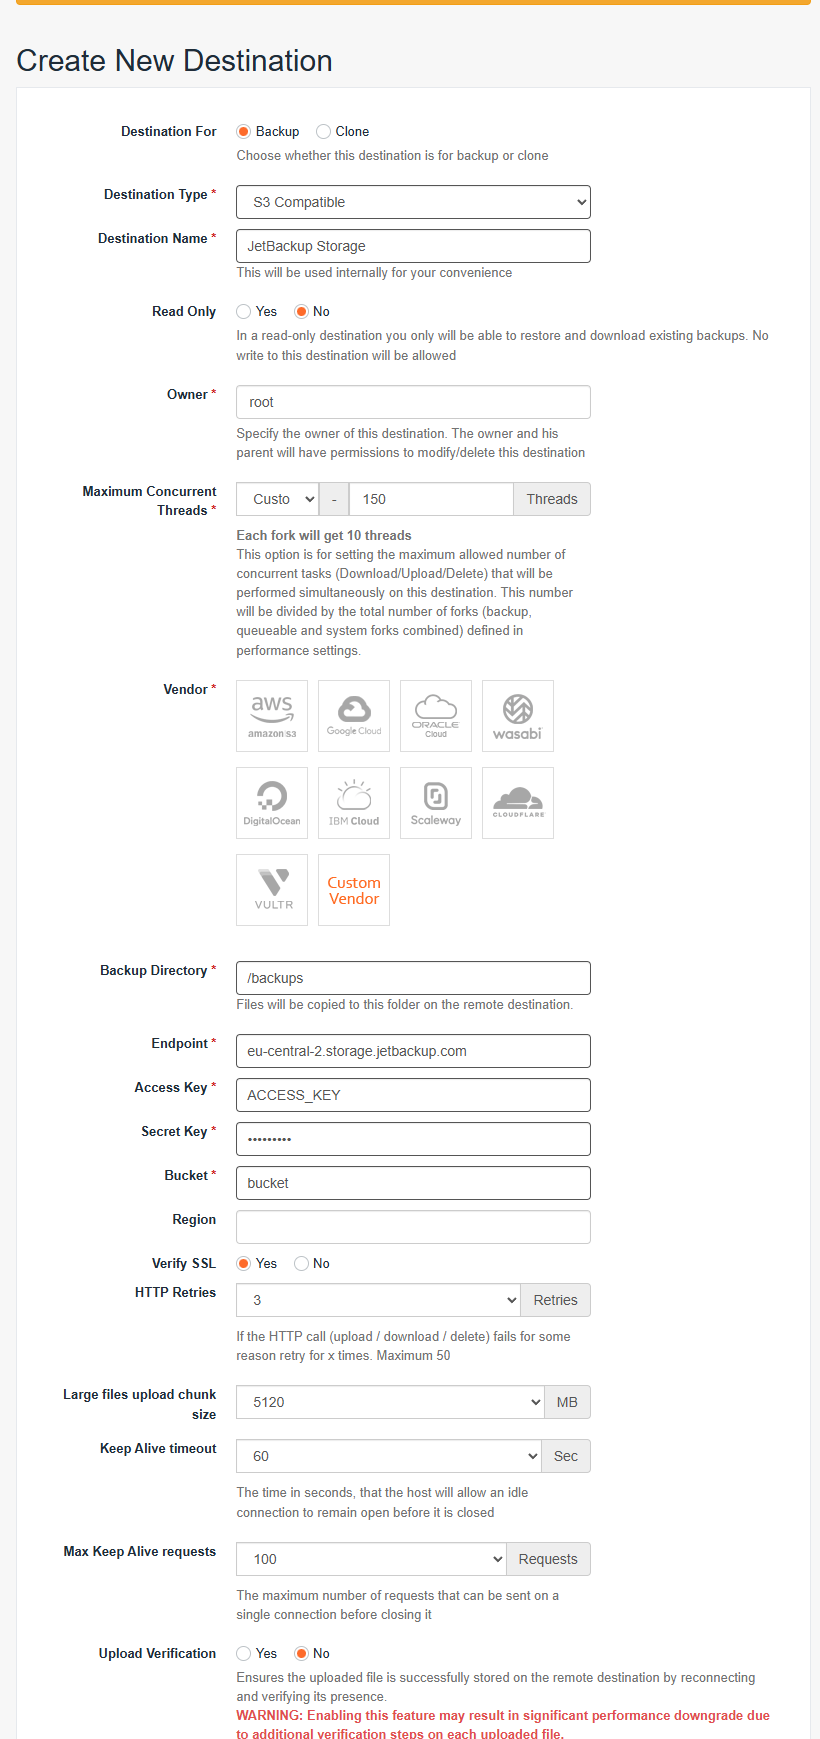
- Lastly, assign the destination to your backup jobs.
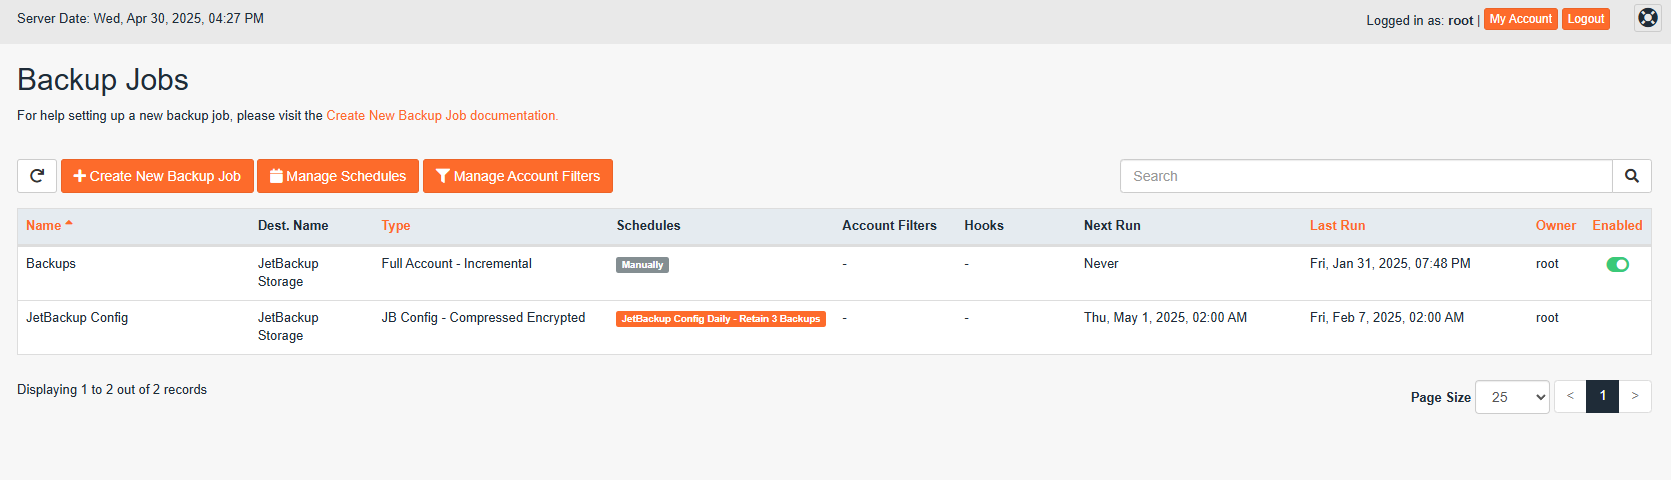
Your backups will now be stored to your JetBackup Premium Cloud Storage!
Feedback
Was this page helpful?
Glad to hear it! Please tell us how we can improve.
Sorry to hear that. Please tell us how we can improve.