How to import and restore backups with the JetBackup for WordPress Plugin
Step 1 - Import and Restore a Backup
-
Navigate to JetBackup > Backups in your WordPress dashboard.
-
Click the “Import and Restore” button.
-
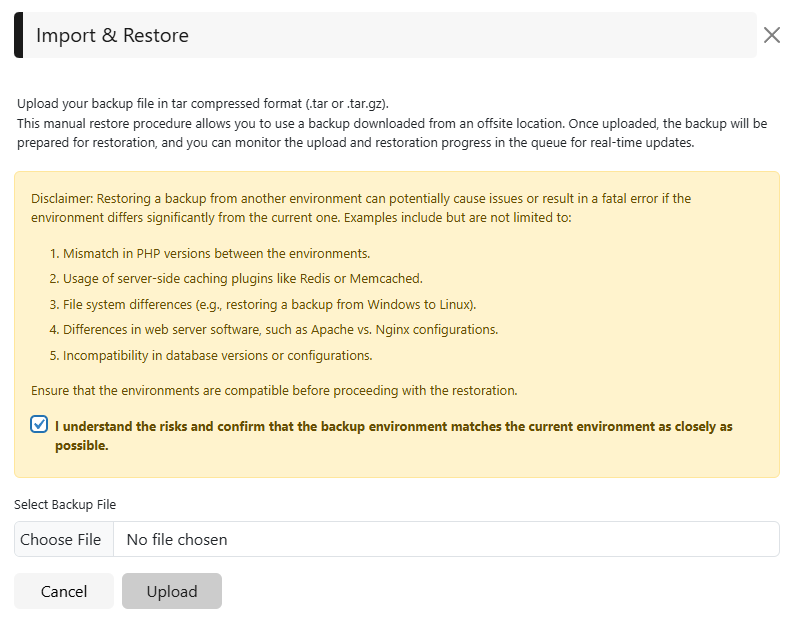
A popup window will appear, as shown below.
-
Upload the backup file generated by JetBackup — it must be in a TAR compressed format (.tar or .tar.gz).
-
Please make sure to review the disclaimer for any potential risks or errors that may occur during the restoration process.
-
Once the pre restoration process will automatically begin and appear in the JetBackup > Queue.

Step 2 - Complete restore
-
Once the Pre Restore process is complete, your restore is ready to be finalized.
-
Simply click “Complete Restore »”

-
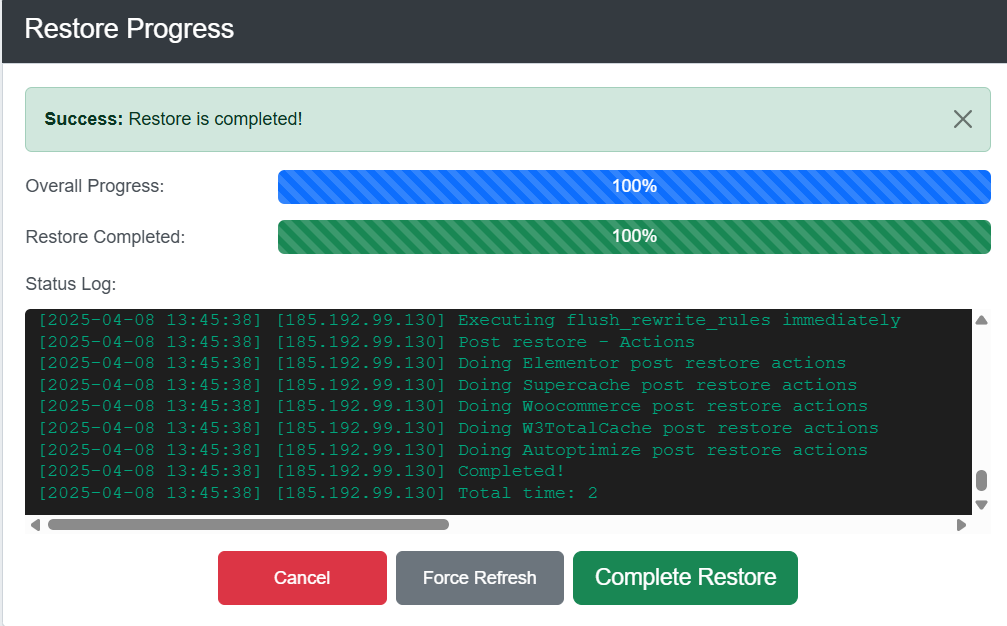
You’ll be redirected to a new page to complete the final step of the restoration.
-
Once the process finishes successfully, your website will be fully restored.
-
Click “Complete Restore” to redirect back your site
⚠️ Note: After the restoration is complete, you may need to log in to your WordPress dashboard again.
Feedback
Was this page helpful?
Glad to hear it! Please tell us how we can improve.
Sorry to hear that. Please tell us how we can improve.