How to restore backups with the JetBackup for WordPress Plugin
Restore backups that were generated on JetBackup for WordPress.
Step 1 - Choose a Backup to Restore
- Go to JetBackup > Backups.
- Review the backup date and details to ensure it’s the one you want.
Step 2 - Click the Restore Button
-
Click “Restore” the button.

-
A confirmation popup will appear — review the information and click “Add to Queue” Button
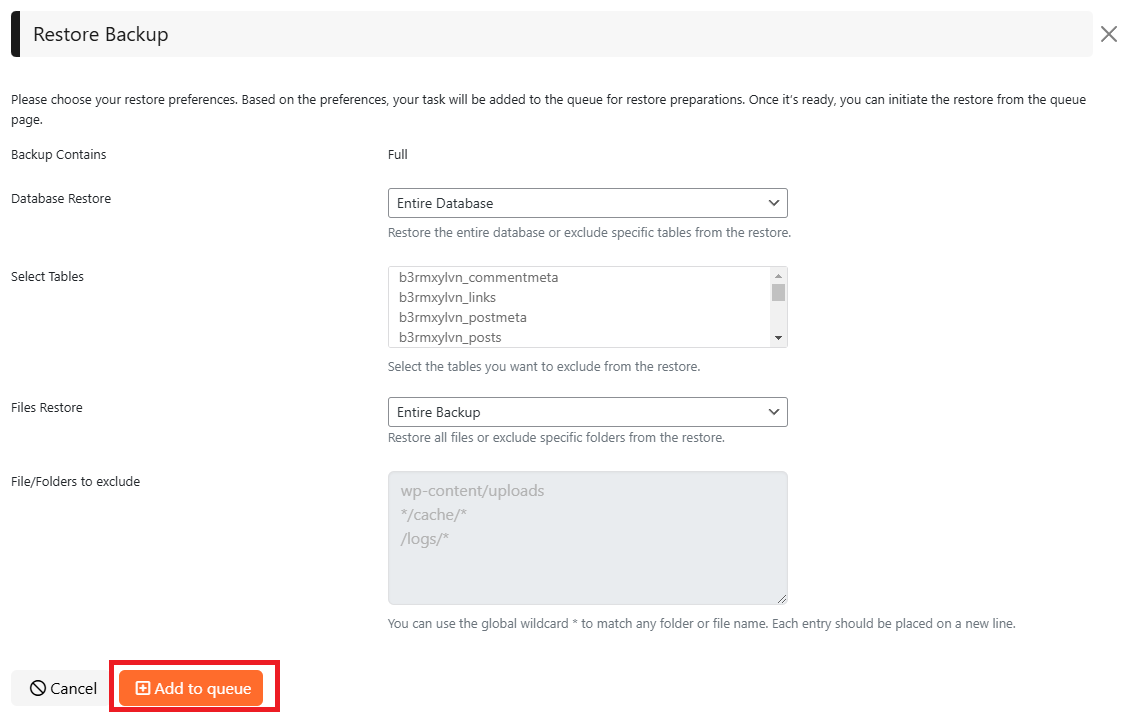
Important Restore options
Select Tables
-
Select the tables from the database to be included/excluded from the restore.

Files Restore
-
Select the file restore option.

File/Folders to exclude
-
Specify file or folder paths to exclude from the restore. Use the global wildcard (*) to match any folder or file name. Enter each entry on a new line.

Step 3 - Monitor the Process
- The Pre Restore task will move to the Queue. You can track the progress under JetBackup > Queue.
Step 4 - Complete restore
-
Once the Pre Restore process is complete, your restore is ready to be finalized.
-
Simply click “Complete Restore »”

-
You’ll be redirected to a new page to complete the final step of the restoration.
-
Once the process finishes successfully, your website will be fully restored.
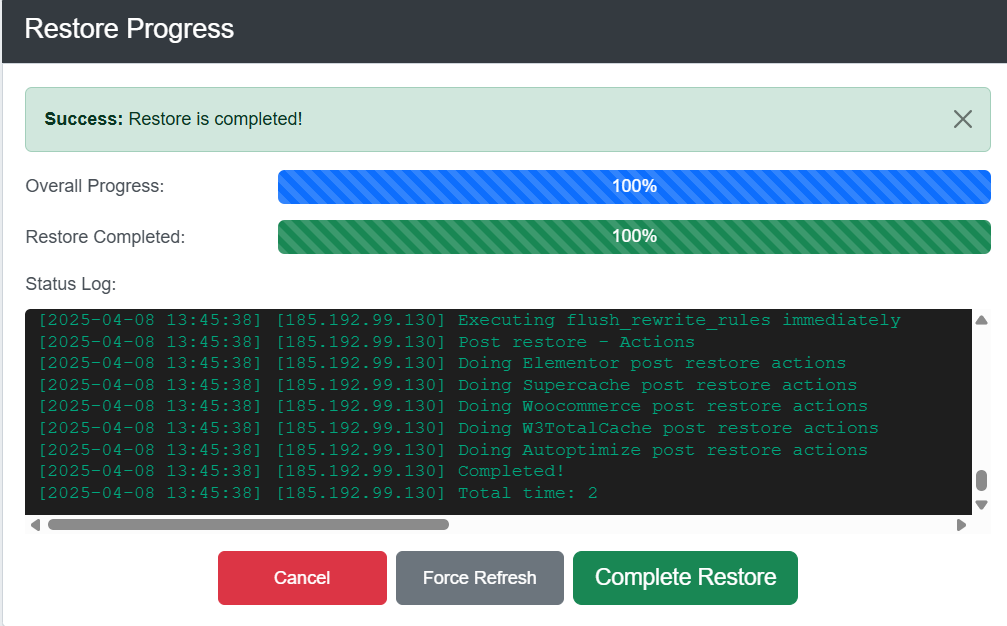
-
Click “Complete Restore” to redirect back your site
⚠️ Note: After the restoration is complete, you may need to log in to your WordPress dashboard again.
Feedback
Was this page helpful?
Glad to hear it! Please tell us how we can improve.
Sorry to hear that. Please tell us how we can improve.