Backblaze B2
Step 1 Configure Backblaze
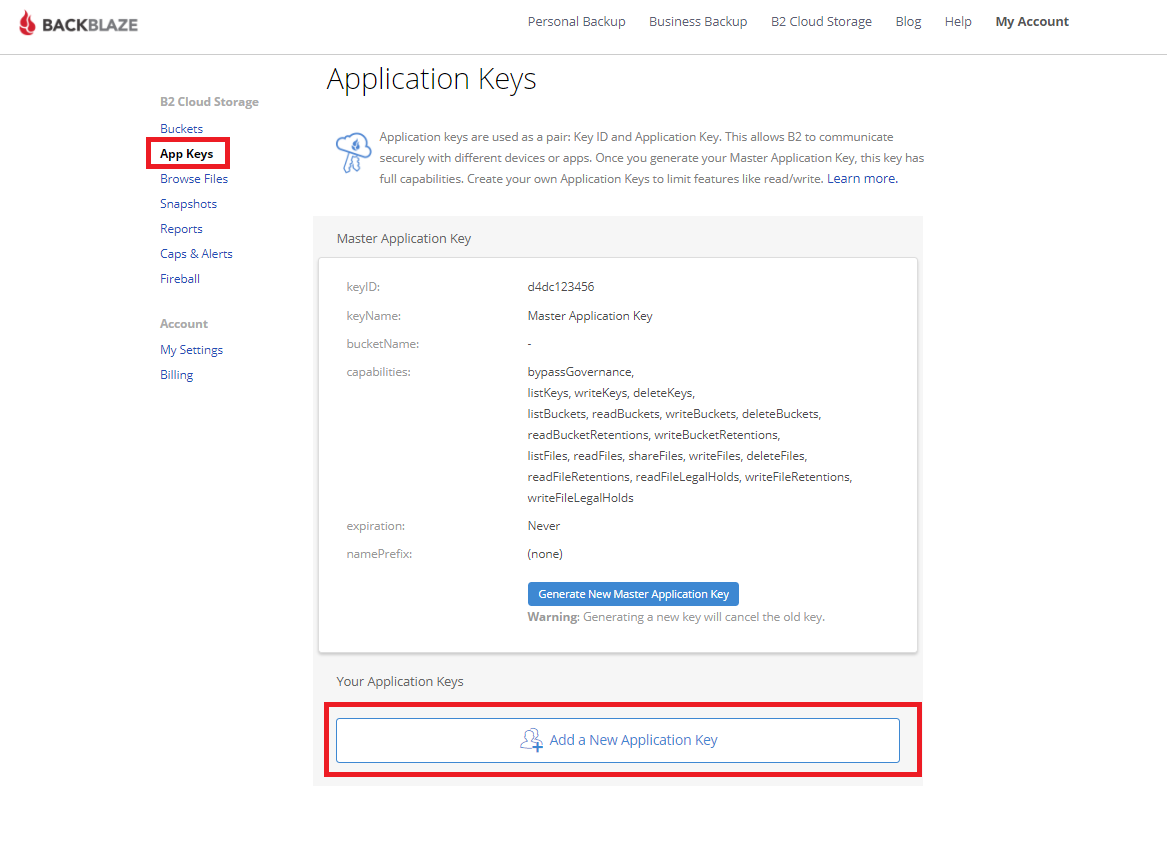
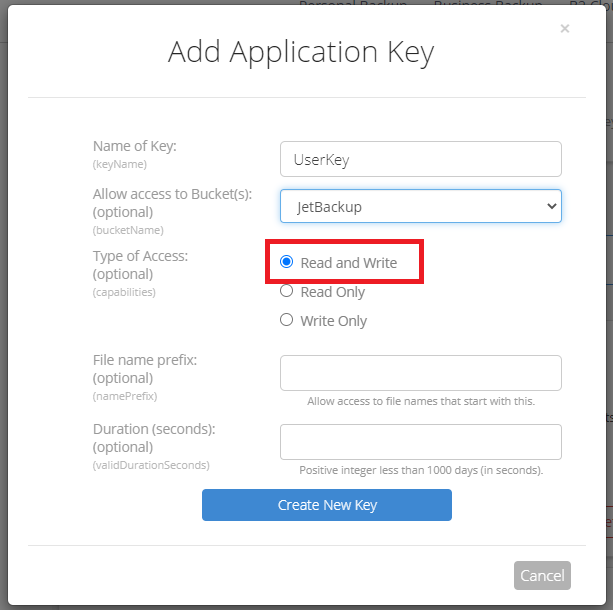
If you create an Application Key and are not using the BackBlaze Master Application Key, the application key must have all privileges (Read and Write) for the targeted bucket.
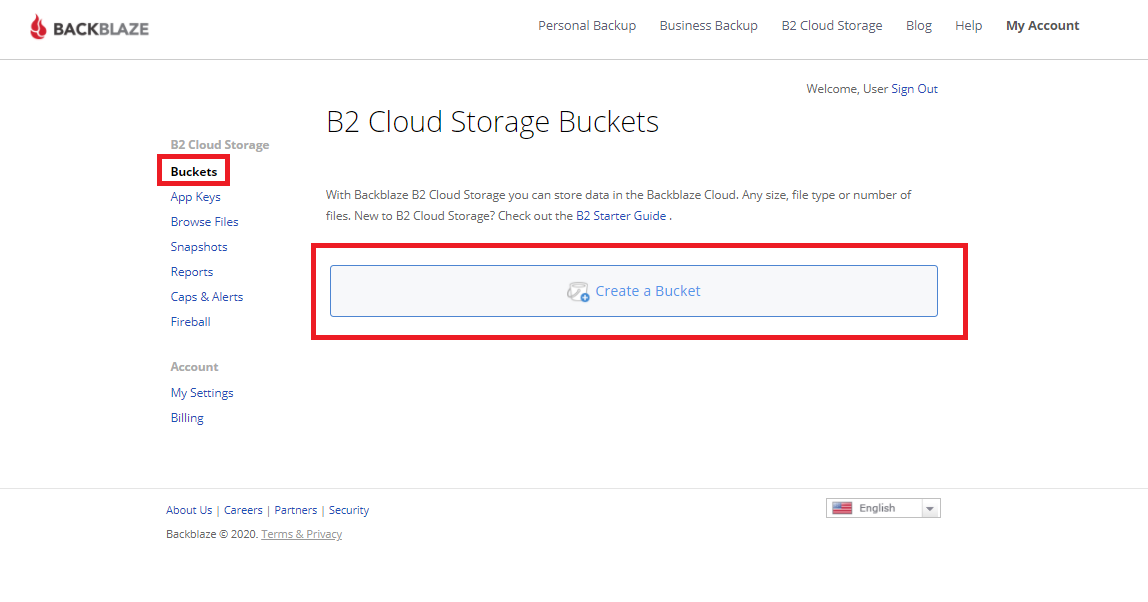
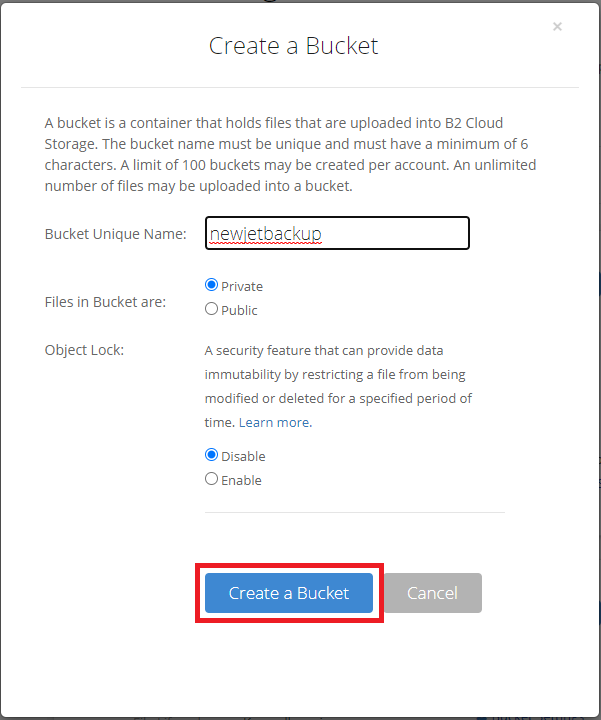
Click on "Create a Bucket". Give your bucket a unique name, and choose "private".
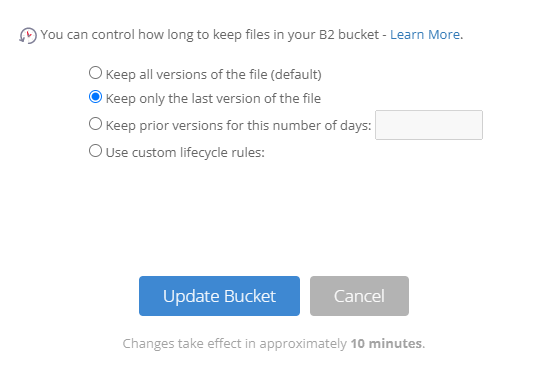
Please be sure that the Backblaze Lifecycle settings are set to "Keep only the last version of the file" to ensure that JetBackup can properly clear old backups according to backup retain settings and set TTLs.
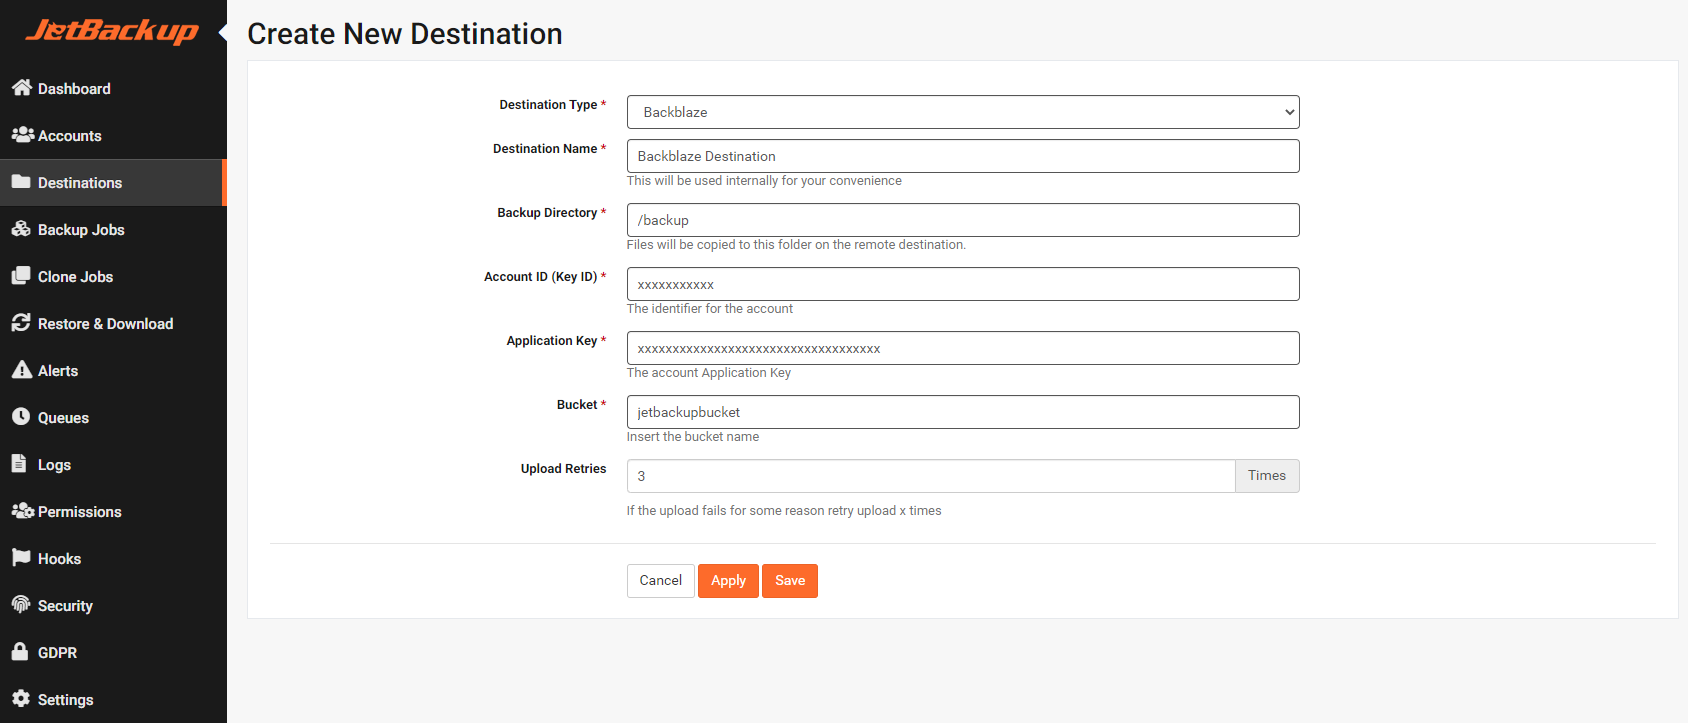
Step 2 Create a backup destination
- Specify "Destination Type" as "Backblaze".
- Add a name for your destination.
- Fill in the Account ID (keyID), Application Key and Bucket name that you have just created.
- Click the "save" button.
Destination Name
A generic name for your internal ease of use, so it will be easier to recognize the backup destination roll, in case you have more than one. Max length is 40 characters.
Backup Directory
This will be our starting point when accessing this destination.
Make sure to not start with "/".
Write your path to where you want the backup to be stored.
You can leave the backup directory empty if you want that the backup will be stored in the main directory.
Free Disk Space Limit
This option checks if the destination's disk space has reached the specified limit before it executes the backup. When enabled, JetBackup will not perform the backup when the used disk space is over the specified limit.
Account ID
The identifier for the account.
Application Key
The account Application Key.
Bucket
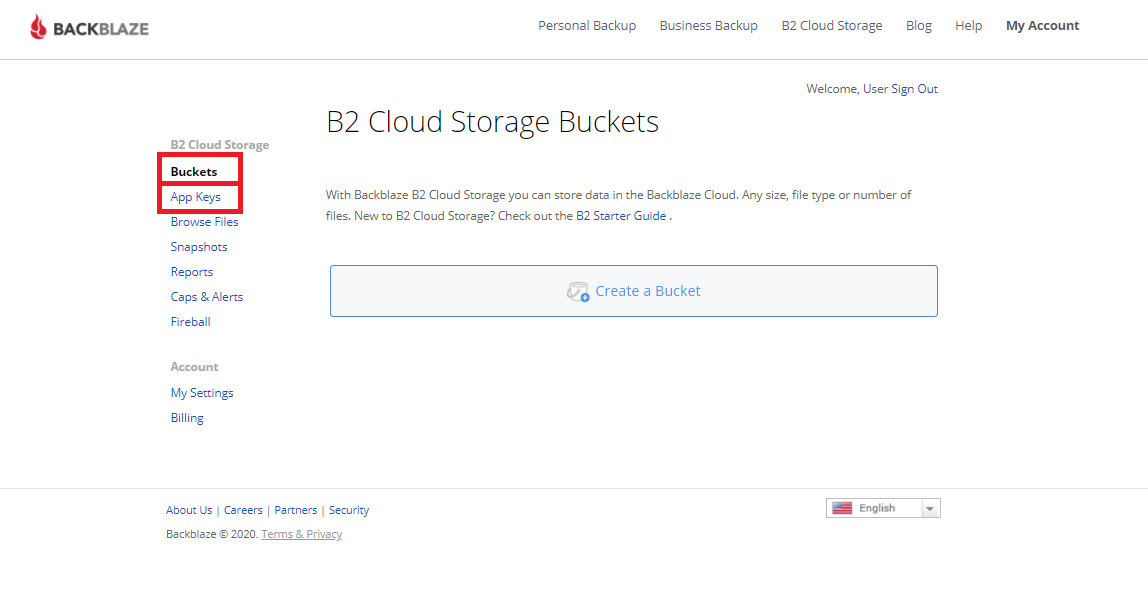
In order to create a bucket using BackBlaze console go to Creating a Bucket in the Backblaze B2 Cloud Storage Buckets.
Upload Retries
If the upload fails for some reason retry upload x times.